


The game changing $150 DIY wardrobe/Closet
Don't let the internet rush you

When we bought out home, the thing we loved most about it was the fact that it hadn’t been flipped but it also wasn’t a total fixer upper. While dated/needing some TLC, it was totally liveable which allowed us some much needed time to save up again in order to make the changes that would make the home feel more like our own.
We spent the first two years living in the house without an oven while we saved up to do the kitchen, knowing that would be the first renovation. (Side note, genuinely wished we’d known about air fryers sooner during that time) Knowing most of our money was having to be allocated to the kitchen reno, meant that any other decor /updates to the house we wanted to make had to be DIY.
Case in point my wardrobe/closet/cloffice.
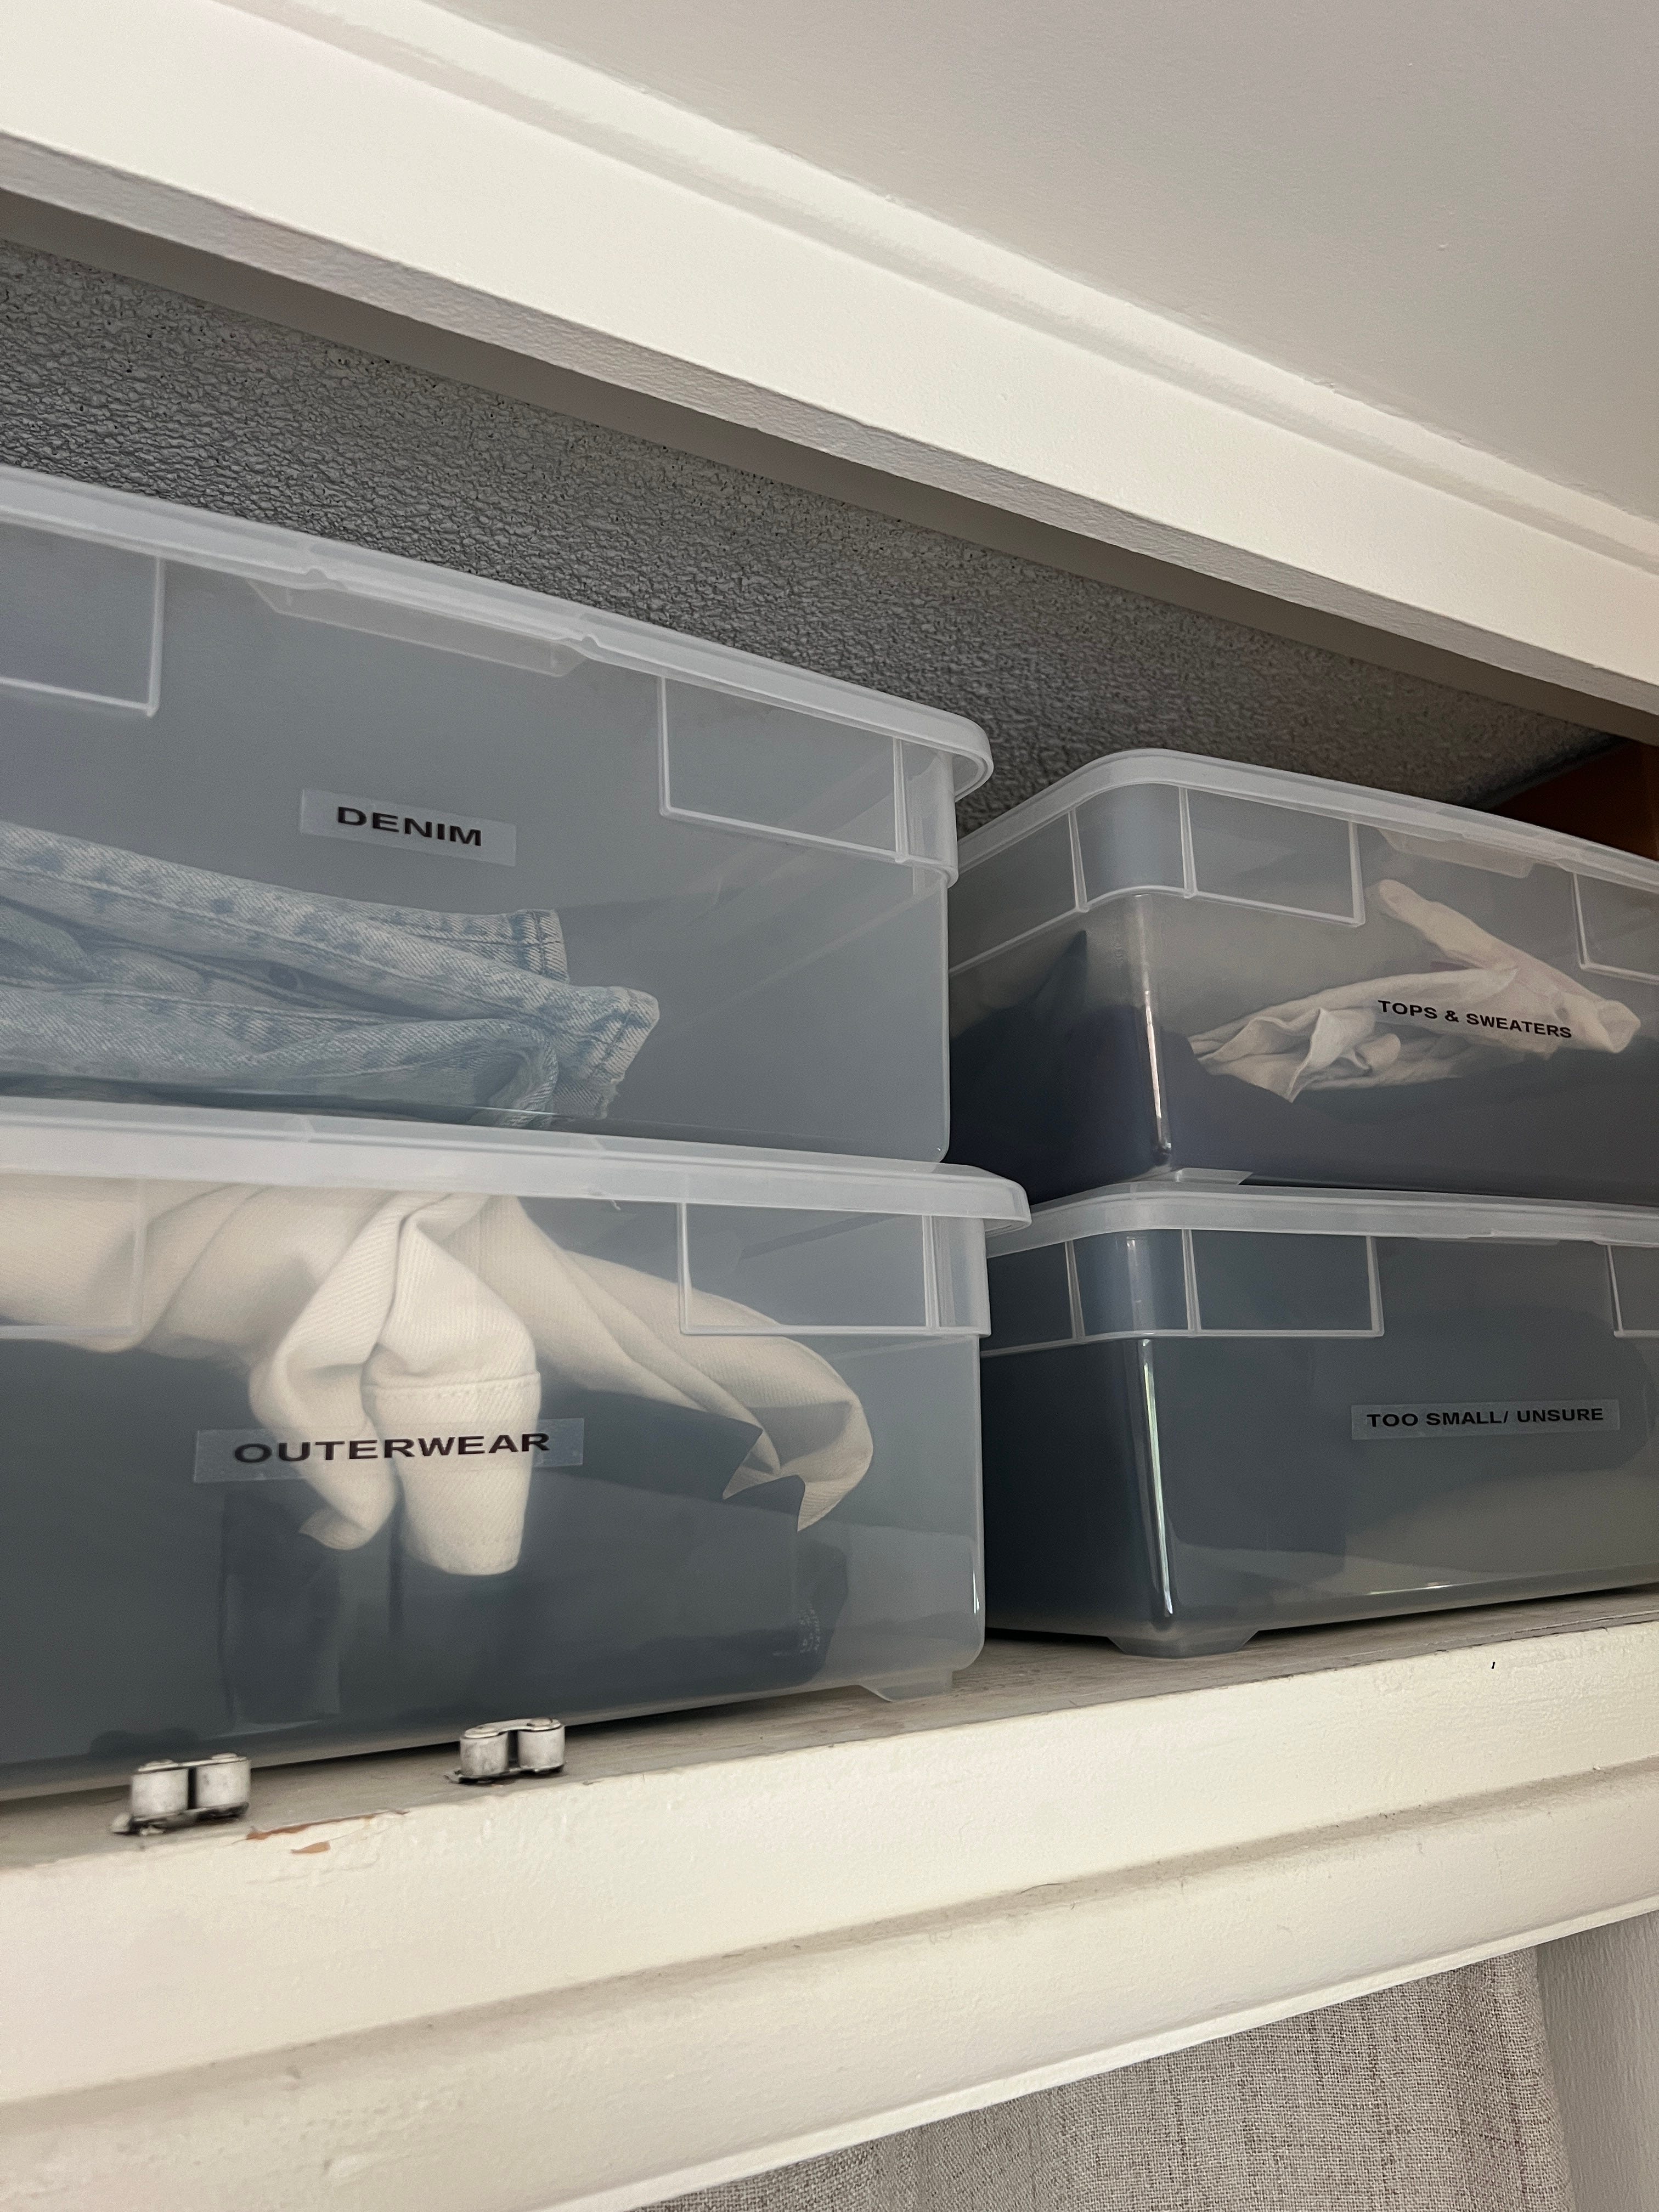
The room that would be my office had a built in wardrobe with sliding doors that smelled musty, were a deep shade of yellow/brown and it’s safe to say the doors were on their last legs. There were two cupboards above the wardrobe that I knew I would use to store past season pieces, as I like keeping a concise edit so that I don’t get overwhelmed. (Plus it also feels really exciting the next time I see my pieces I haven’t laid eyes on for a while, they feel like new all over again when I change things seasonally)
The before photos
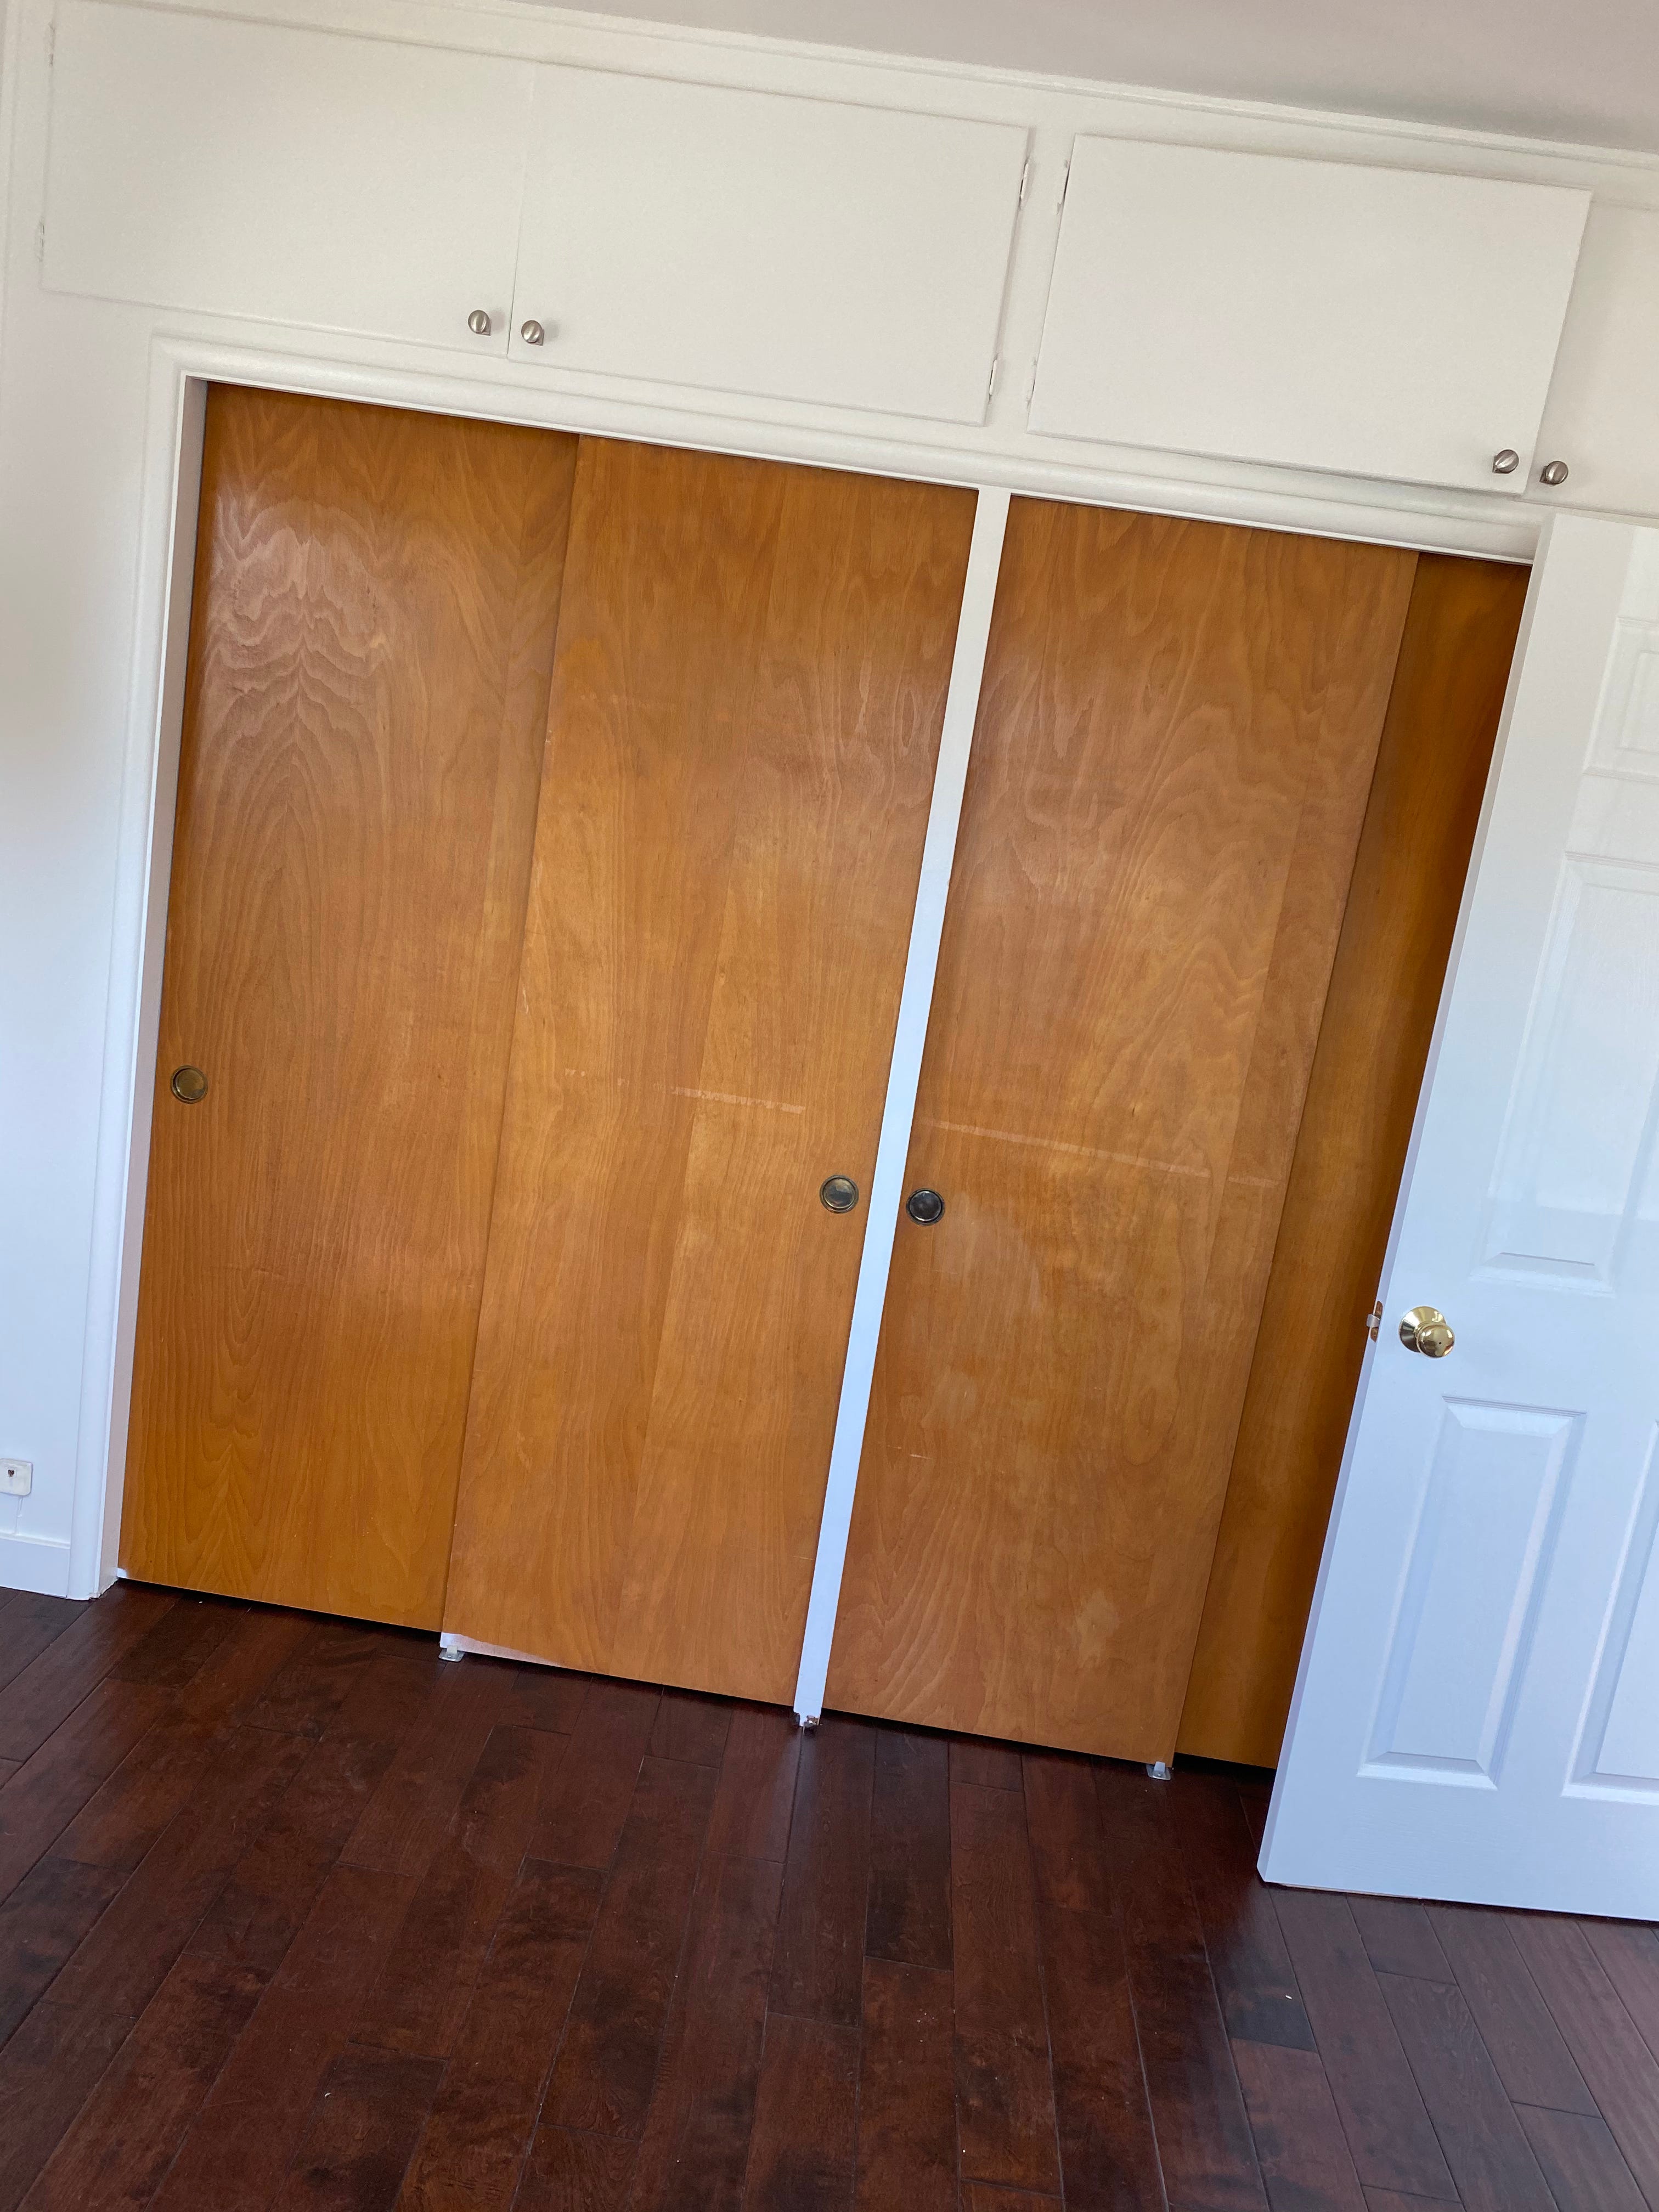

I knew I wanted the space to be a walk in closet of sorts but also allow enough room for a filming space/office. While I knew this wasn’t going to be ‘the dream closet’ set up, I still felt I could make it look infinitely better (and more user friendly) than what I was currently presented with.
I could have gone down the Ikea route, but at this point I needed a cheaper solution. Growing up I had always loved the simplicity of an open rail, which honestly I believe is one of the easiest ways to shop your closet. If I can see what I have, in my experience i’m more likely to wear it.
I hated the sliding doors because they always came off the sliders. You could only ever see half the wardrobe at any given time, and they were very cumbersome, so the first thing I did was remove them! Instantly I could see how much space I had to work with. The fact that I could still use this space without losing any of the square footage of the room felt expansive to me.
Knowing I would need to film in this room, I still wanted an option to not have to see all my clothes, AND I wanted something else that could act as a backdrop for filming if i wanted a cleaner setting. That’s how I landed on the curtains below, that we actually bought for our bedroom and loved so much, I decided they would work perfectly for the closet too. The softness of the curtain added more cushion to the room which helped with audio and limited any echo. They were also neutral enough I knew they’d work well as a backdrop for both makeup videos and outfits. The curtains also softened the room, as it wasn’t until two years of living in the house that we could afford to change the floors, so having the curtains also helped lighten up the room.
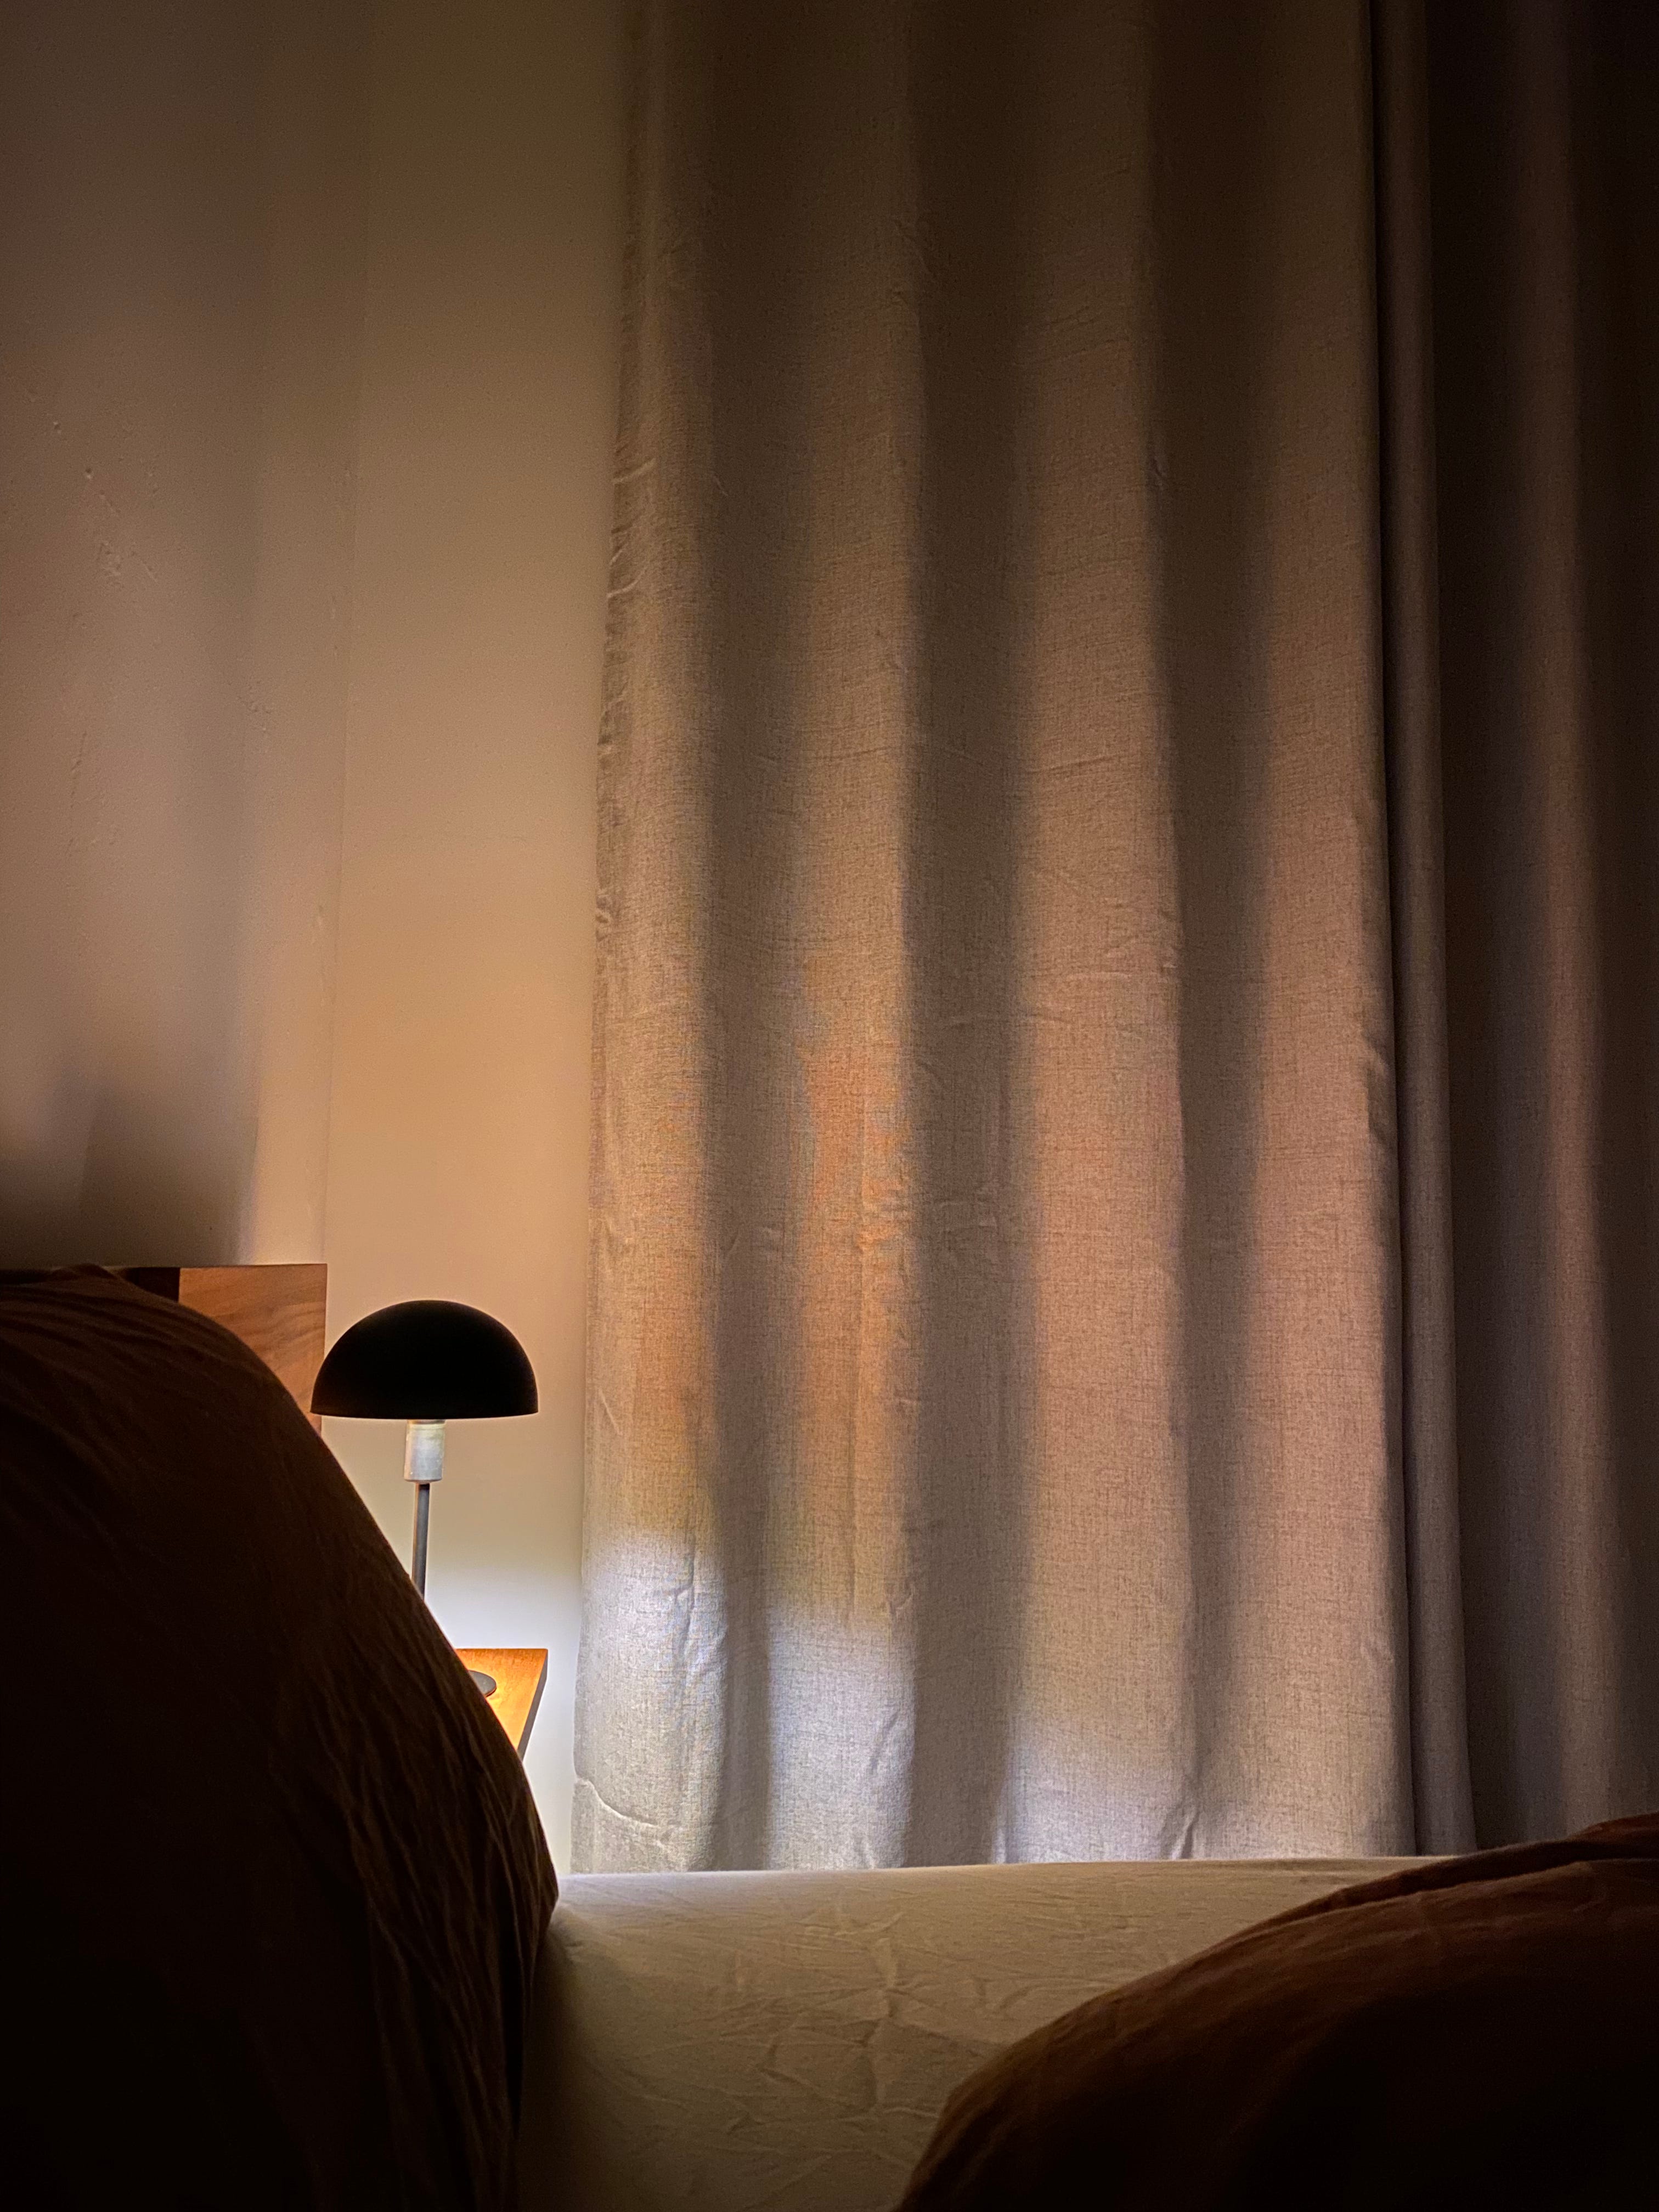
The curtains were my first cost (coming in at $46) which I pinned to make them the correct length, the second was these gold pulls for the cupboard doors above the wardrobe, where I store my out of season pieces in tubs. We had an old curtain rail from our old place that was spare so we used that to hang the curtain just inside of the wardrobe.
I painted the inside white using the cheapest large can of interior paint I could find at Home Depot (roughly $20) including the shelves and the rail. This alone instantly made it look bigger and fresher.
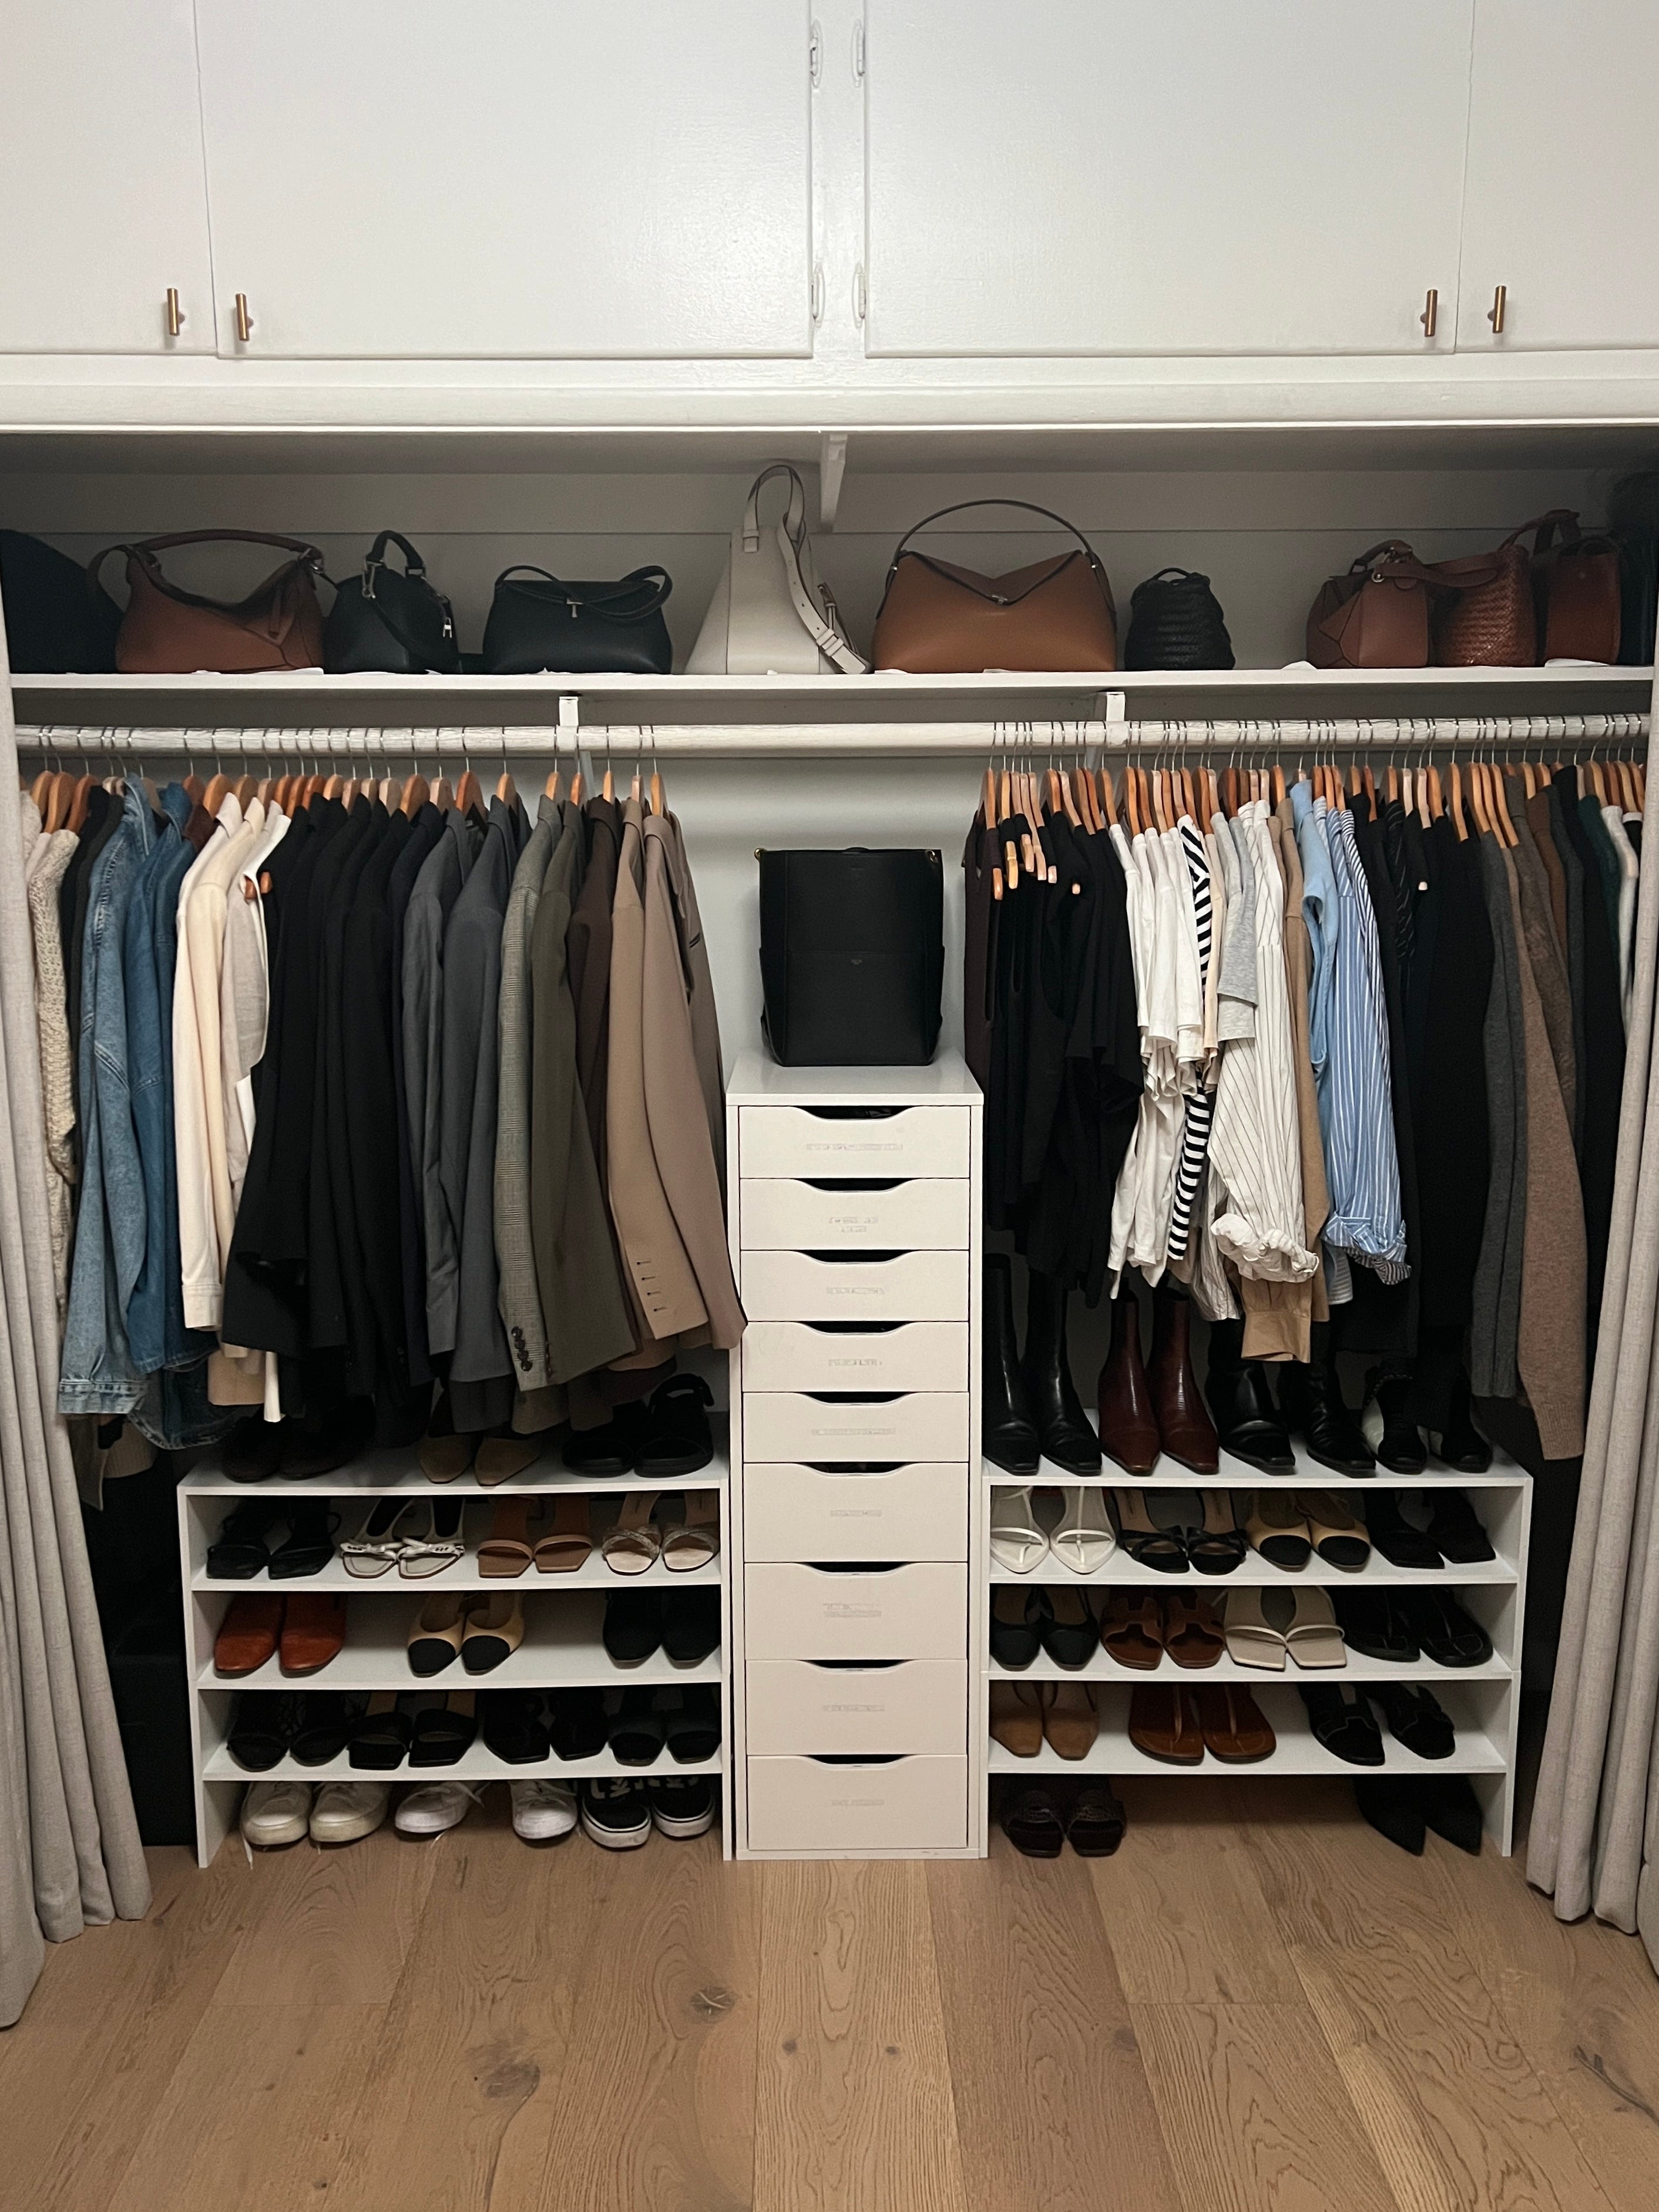
To create sections inside the wardrobe, I repurposed an old set of Ikea Alex drawers (free) and placed them in the middle (these store my vests and accessories) and then purchased four white shoe stands ($17 each) that were stackable to create a space specifically for my shoes. The top shelf was already inside the wardrobe and after a refresh I used that to house my bags.
The last thing I added that I didn’t include in the budget were the wooden hangers. Now I know you can fit infinitely more things into a space if you buy thinner felt/metal hangers, but I wanted my space to feel like my very own boutique. I wanted to romanticize what I already owned, and having a uniform hanger that felt a little more premium really did elevate the entire look in my opinion.
After
Total Spend:
Curtains $46
4x white shoe stackable storage $68
Gold pulls for the cupboards $8.99 for a pack of 10
White interior paint approx $20
Total: $142.99
Look it’s not going to win any awards for modern luxury design but it works, and do you know what? I really love it! Considering I did the transformation in less than a day and it cost me less than $150, it’s still one of my favorite places in my home. Maybe this is my dream closet after all? Moral of the story, don’t let the internet rush you. Whether it’s your wardrobe or how you design your home, the only person it needs to work for is you.
Thanks for being here and supporting my work!
Harry x
*Some links contain affiliates*
Such a good upgrade!
You did brilliantly. Very calming somehow. For a woman about to make rational decisions.